


Description
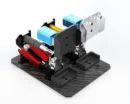
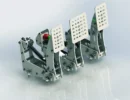
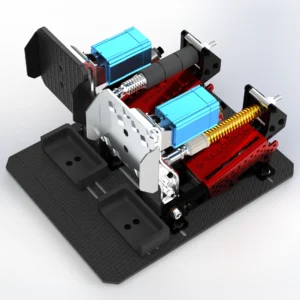
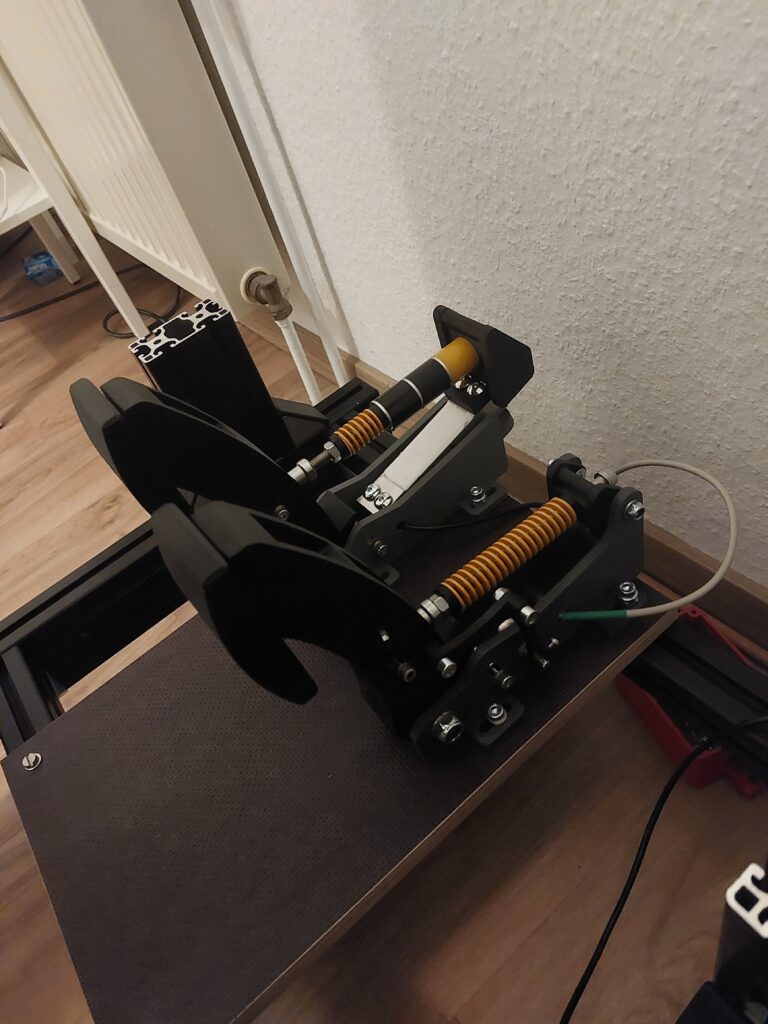
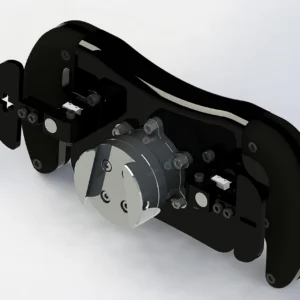
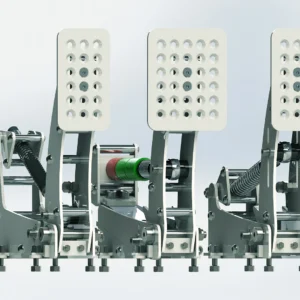
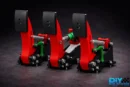
THROTTLE AND CLUTCH PEDALS
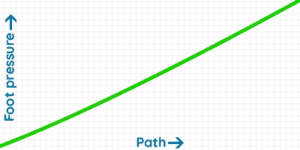
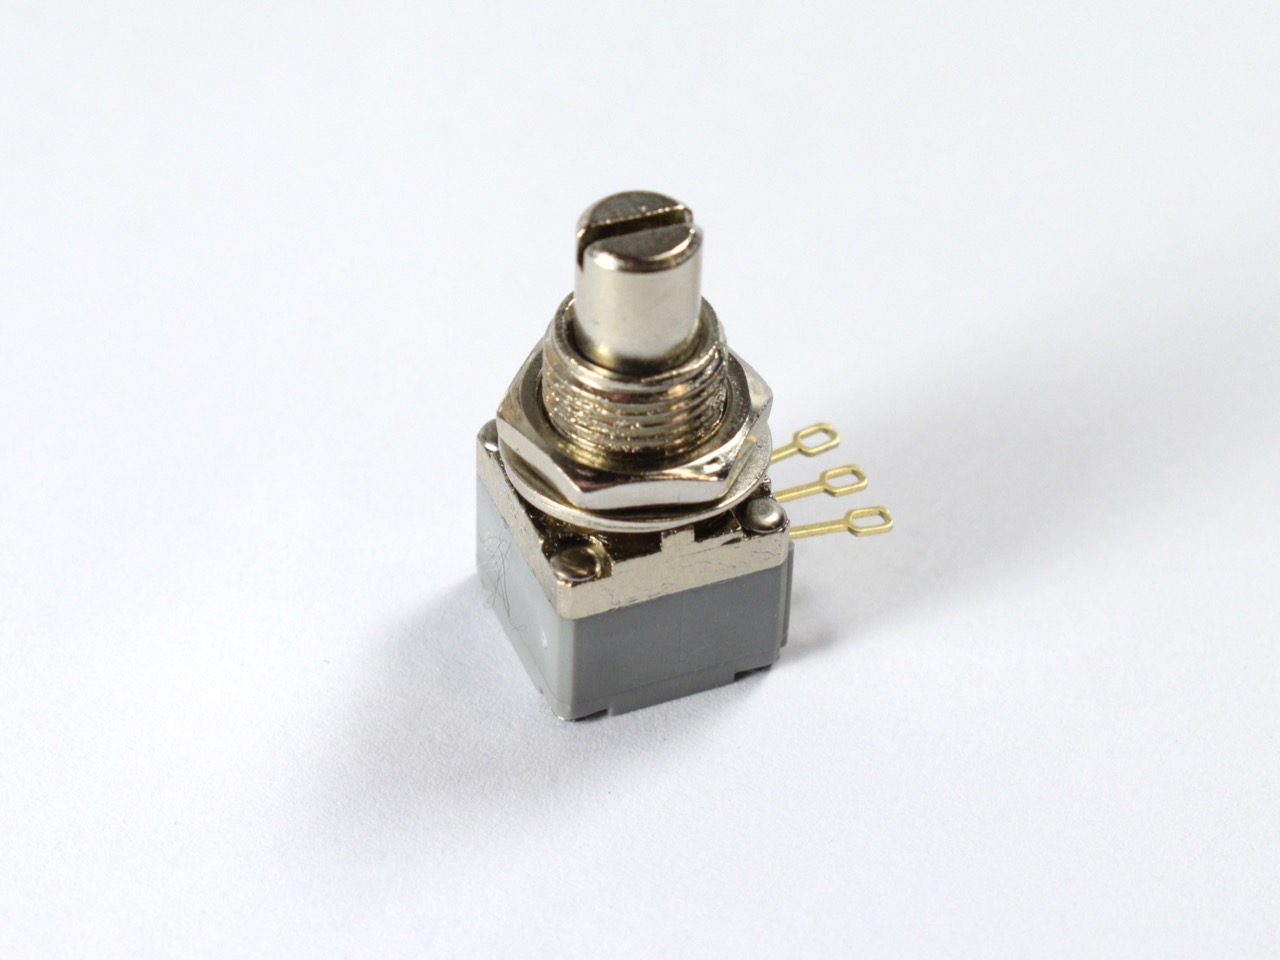
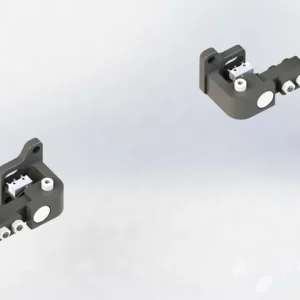
The throttle and clutch pedals are linear, you can adjust the hardness, angle, stop and the footrest position. Concerning electronics, it’s a potentiometer fixed by two levers with a very solid structure.

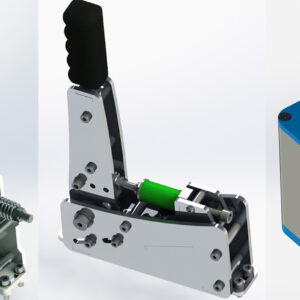
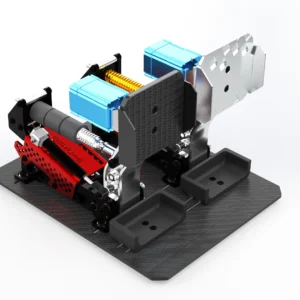
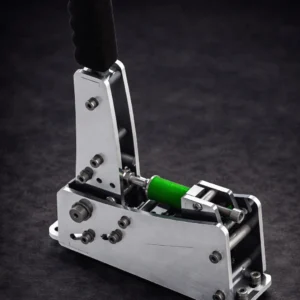
BRAKE PEDAL
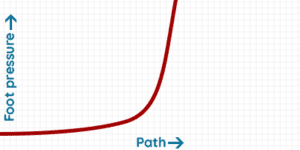
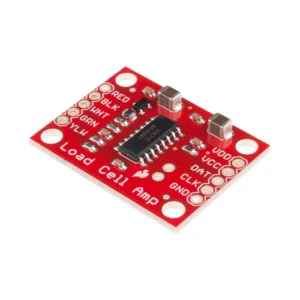
Load cell pedals provide precise and realistic braking force, improving your control and immersion in the game. The brake is made up of one spring and many elastomers which enables the two stages of braking: soft then hard.
The feeling is adjusted by changing the combination of elastomers and/or by tightening the spring. The technology is similar to the Handbrake Load cell. The pedal is designed to take more than 100kg of pressure! Concerning electronics, it will be a 120kg pressure sensor.


- Quantity: 2
- Resistance: 10k Ohm
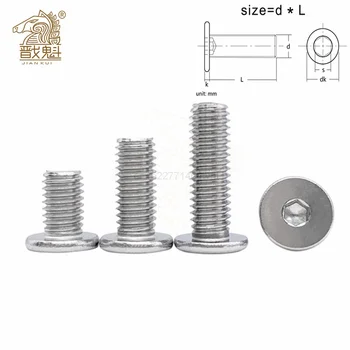
- Note: you need M8 washer to fix this potentiometer


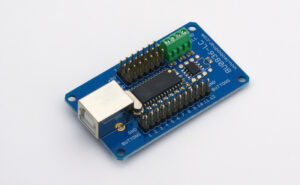

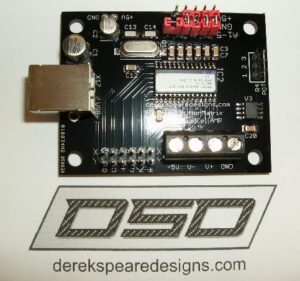
Arduino Leonardo USB Board (alternative #3)
- Quantity: 1
- Note: compatible only with HX711 Loadcell Amplifier

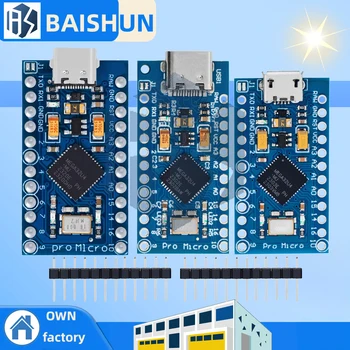
Arduino Pro Micro USB Board (alternative #4)
- Quantity: 1
- Option: Micro USB
- Note: compatible only with HX711 Loadcell Amplifier


- You are going to download a file (CAD models of the 3D-Printed Sim Racing Pedals), we don’t sell physical product.
- After your purchase, you will be able to download your file in your member area (Account > Downloads)
- This product is protected by Licence, you are not authorized to sell or share it.
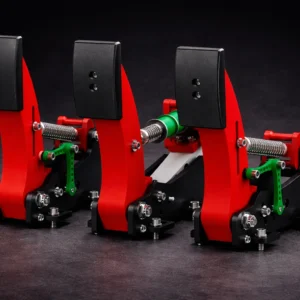
MATERIAL SELECTION
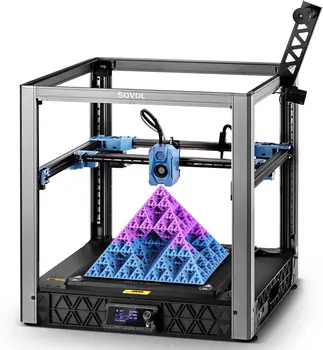
The strength and durability of the pedals largely depend on the material used. High-quality filaments such as PLA offer excellent strength and resilience, making the pedals capable of withstanding significant pressure and stress. Here are recommendations for printing 3D solid parts.
![]()
Looking for high-quality 3D printing services? With Treatstock, you can easily get instant quotes from professional manufacturers worldwide. Upload your design today and get your free, no-obligation quote in minutes! 👉 Get Your Quote Now
DESIGN OPTIMIZATION
3D printing allows for intricate designs with optimized geometry. This means that the 3D printed sim pedals is designed with reinforced structures that provide additional strength without adding excessive weight. The longest part that need to be printed is 220mm.
CUSTOMIZATION AND MAINTENANCE
One advantage of 3D printing is the ease of maintenance and customization. If a part of the pedal wears out or breaks, it can be easily reprinted and replaced. This ensures the overall durability of the pedal system is maintained over time.


Perfekt!
Parfait, rien a dire.
Very nice option to initiate in a cheap way to professional sim racing.
Works very well and was easy to assemble, maybe for next version I would lessen the amount of different sized screws, since that was the most time consuming part of the build. actually finding and buying the right fasteners.
Solid pedals! HUGE upgrade from my previous set and love the load cell sensor. Directions are straight forward and overall easy to follow. Make sure to watch the videos as well. You may have to get creative with a few different types of bolts if they are not available in your area, but its a solid design.
Excellent