


Description

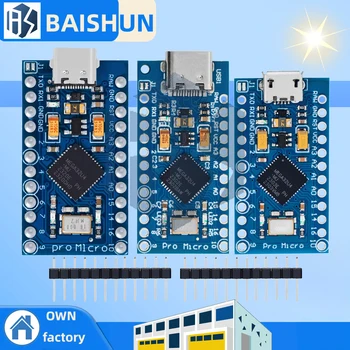
- Quantity: 1
- Option: Micro USB
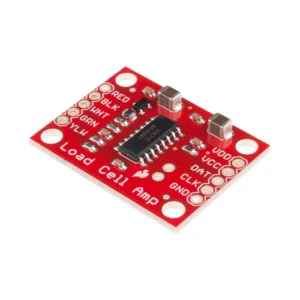
- Note: compatible only with HX711 Loadcell Amplifier


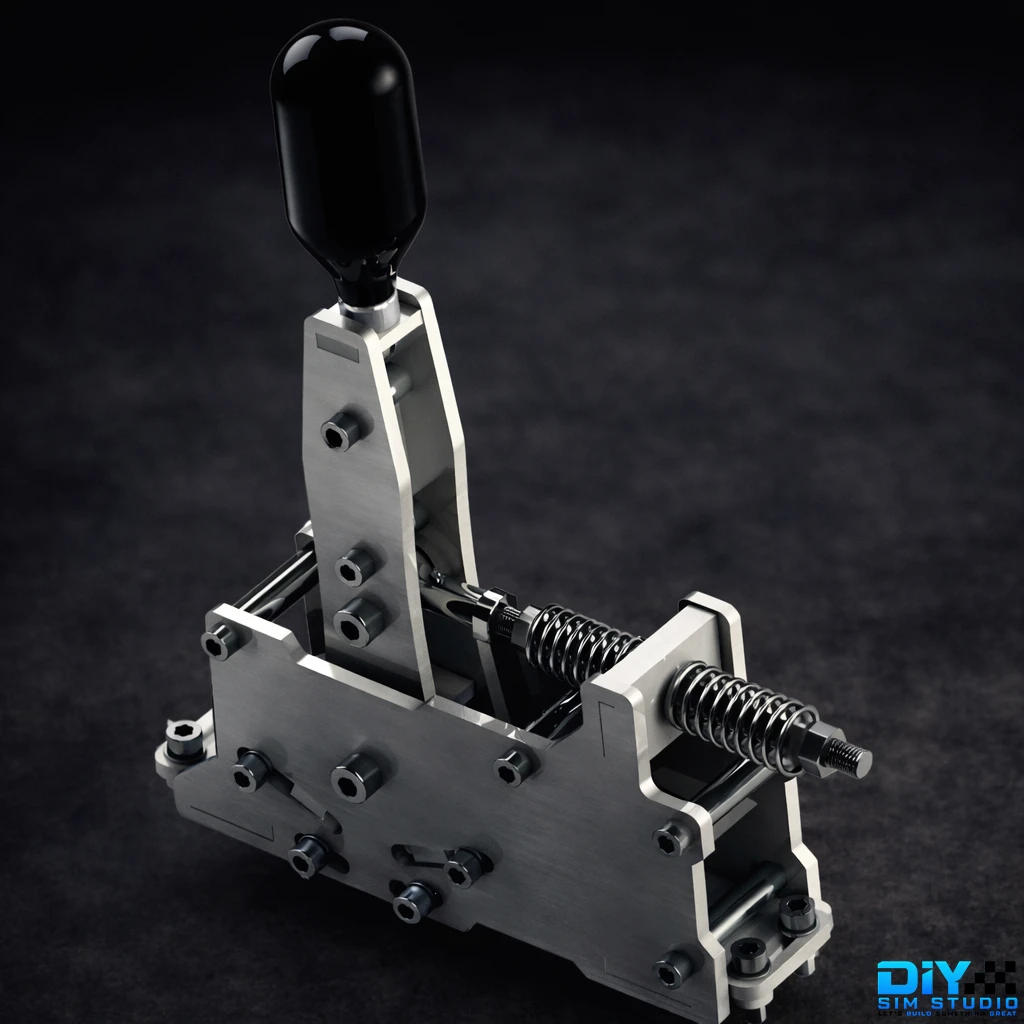
Spring recommanded for the Stainless Steel/Aluminium Sequential Shifter
- Quantity: 1
- Length: 20x10x65mm
- Color: Yellow


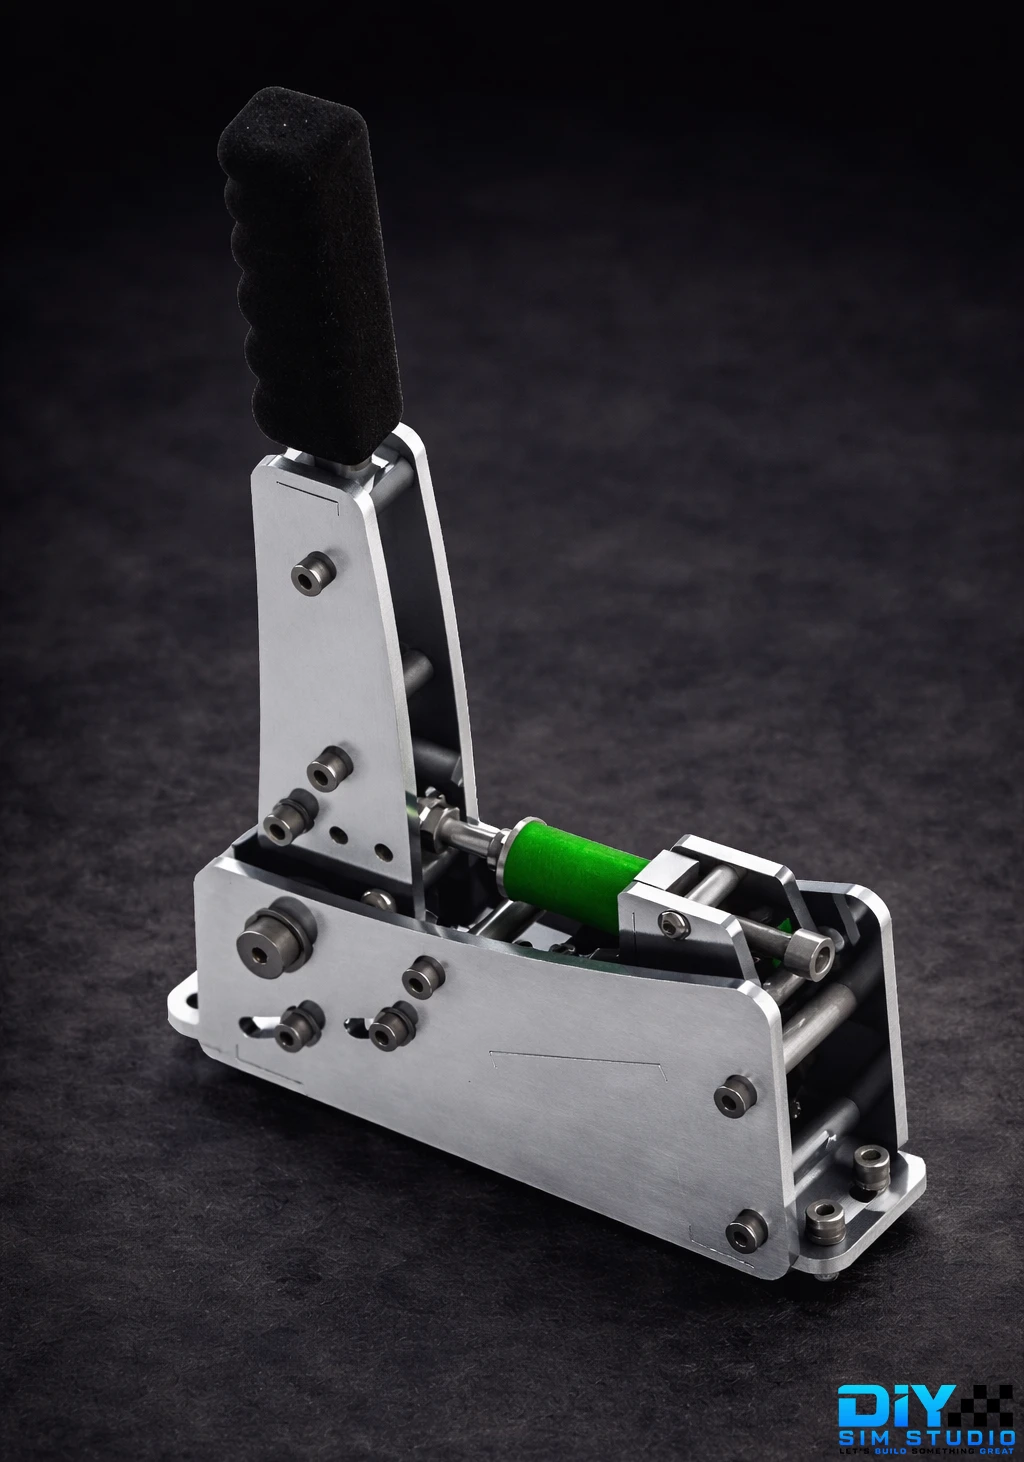
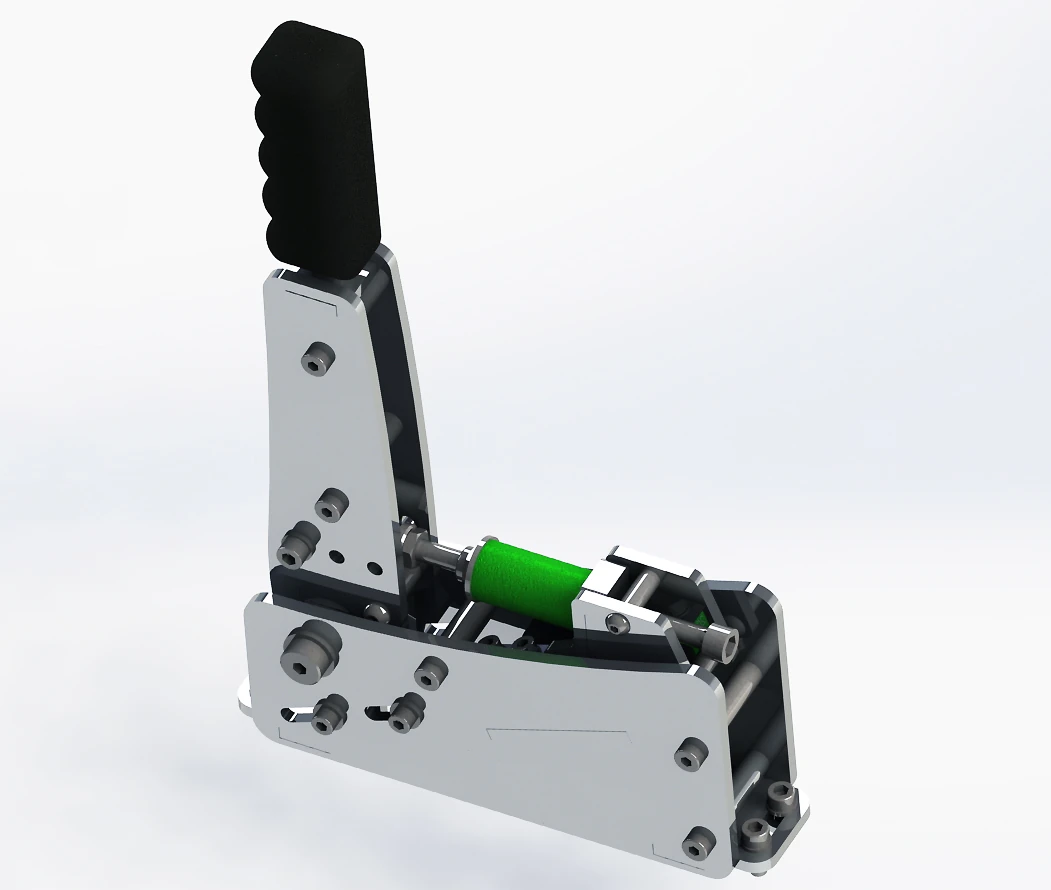
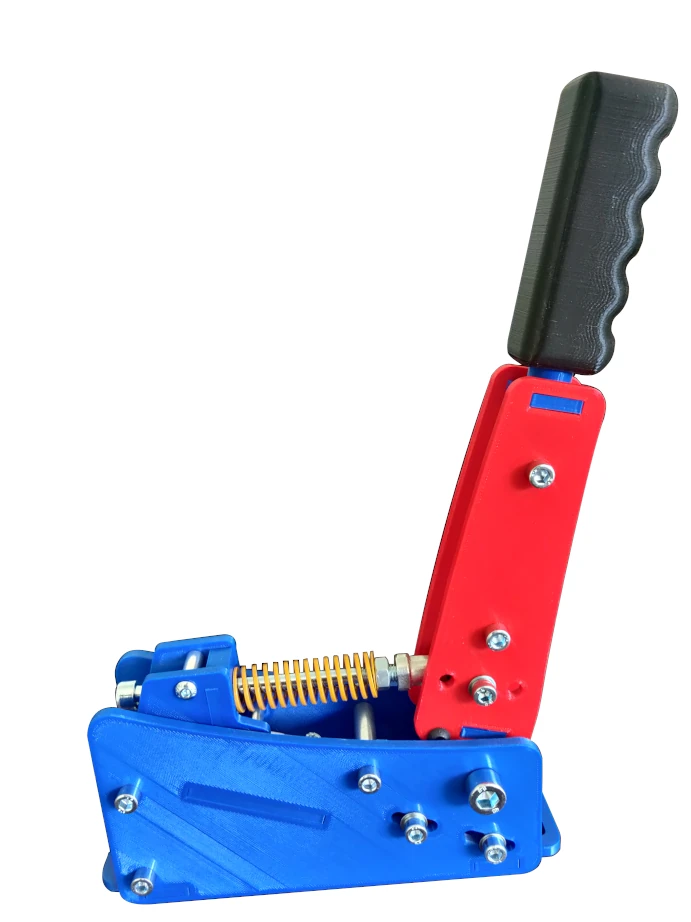
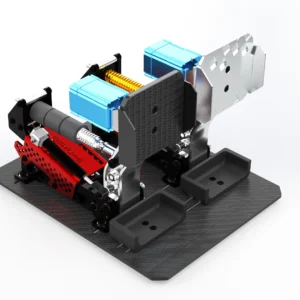
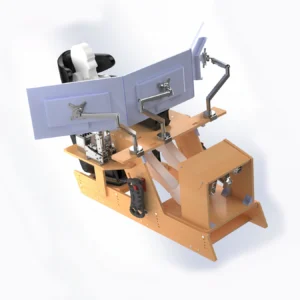
- You are going to download a file (the CAD models of the DIY Loadcell Handbrake), we don’t sell physical product
- After your download, you will be able to download your file in your member area (Account > Downloads)
- This product is protected by Licence. You are not authorized to sell or share it.
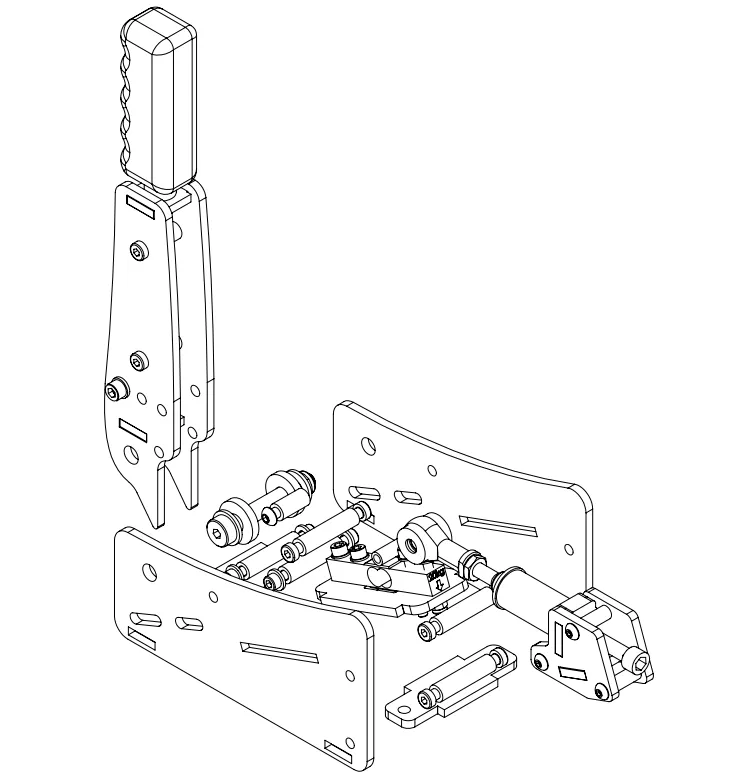
DIY Load cell Handbrake Parts compatibility
You can use other parts to build this Homemade Handbrake for PC (apart from those listed in the required parts section), but you will need to check that they are compatible.LOADCELL
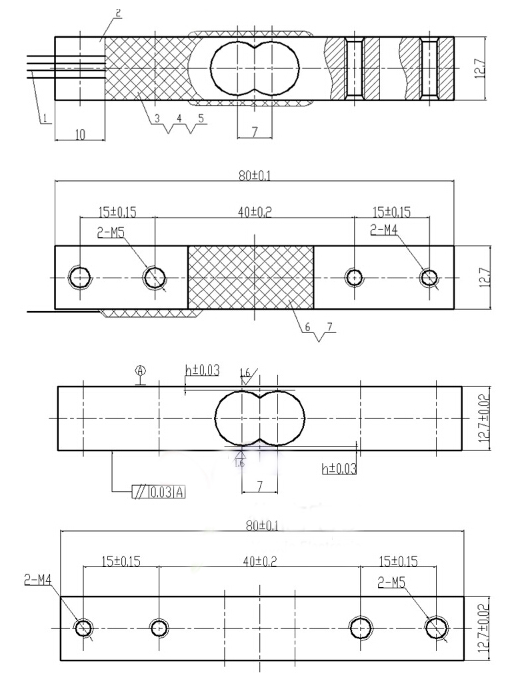
Weight: 20kgLoadcell dimensions:
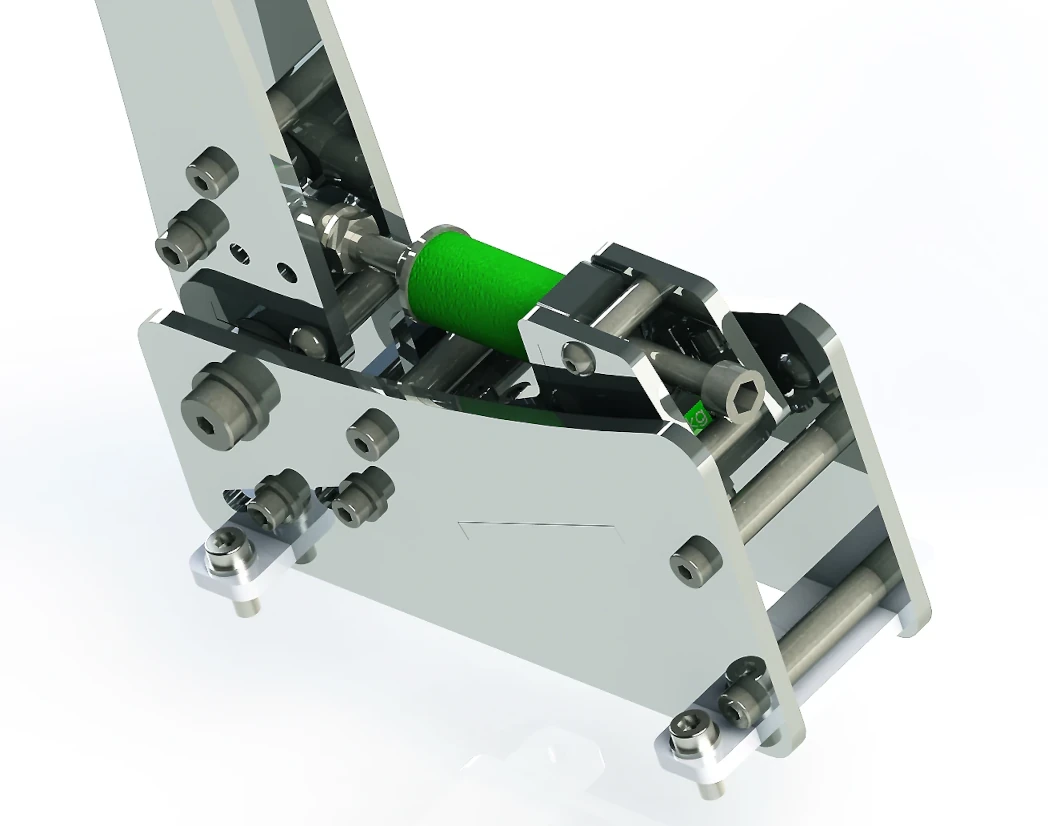
ELASTOMERS
- Ø Inside diameter: min. 8mm, max. 10mm
- Ø Outside diameter: not to exceed 20mm (except if you use M8 washers).
SPRINGS
- ØInside diameter: not below 8.5mm
- ØOutside diameter: not to exceed 20mm (except if you use M8 washers).
Material of the diy usb handbrake
LASER CUTTING
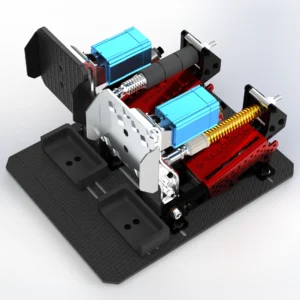
I recommend stainless steel.HANDBRAKE 3D PRINT MATERIAL
I recommend PLA or ABS. You can apply 20% infill for all parts except for the part Spring Support – Quantity 1.stl, for this one I recommend 80% or 100%. Here are recommendations for printing 3D solid parts.HAND CUTTING AND CNC MACHINING
I recommend aluminum because it is a soft metal that is easy to work with.Required materials for your diy handbrake for sim racing
LASER CUTTING
I advise you to request a quote from laser cutting companies near your home. All parts are flat with 5mm thickness, there are none to bend. So you can compare prices and choose the most profitable. You can save money if you make a combined order. For France and Europe, I recommend the company ALPM, and they provide a very good quality cut for a reasonable price.3D PRINTING
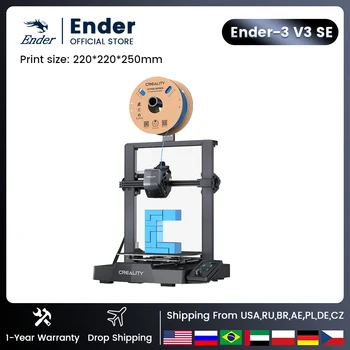
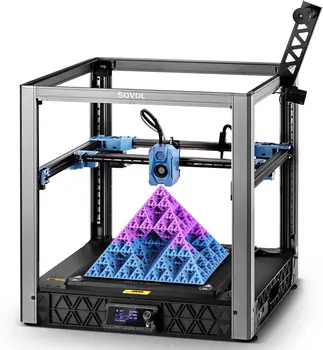
You can buy a 3D printer, or find a 3D printing service like treatstock. The Homemade USB Handbrake longest part that need to be printed is 210mm. ![]()
Looking for high-quality 3D printing services? With Treatstock, you can easily get instant quotes from professional manufacturers worldwide. Upload your design today and get your free, no-obligation quote in minutes! 👉 Get Your Quote Now
HAND CUTTING
You need only sheets of papers, printer and Aluminium plates!CNC MACHINING
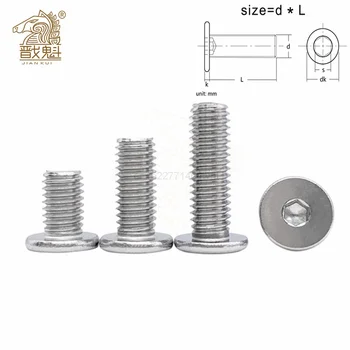
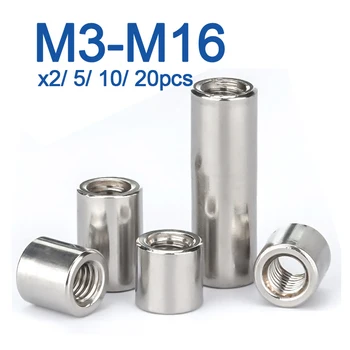
I recommend CNC Machining only if you own a CNC Rooter, otherwise it is not economically profitable enough compared to laser cutting.SCREWS
Bolt depot, Motedis and FixnVis.Tolerances
- Laser cutting DXF files and CNC Machining files: 0.2mm
- 3D Printing: 0.6mm


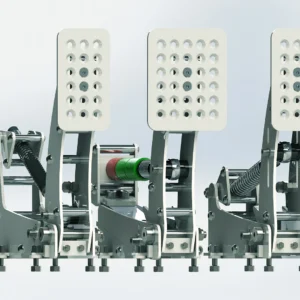


I built both the handbrake and the sequential shifter, and overall, I quite like them. I didn’t read the instructions closely enough and I purchased the wrong springs, but once I corrected that, I was quite happy with the performance. The designs are simple and effective.
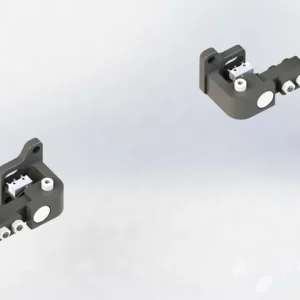
My biggest complaint is the tolerance between parts; everything has a 0.6 mm gap, which seems quite excessive to me. I was able to redesign the “fixing parts” (which attach the controllers to the frame) with a .2 mm tolerance, and that works quite well, but reprinting the “fixed parts” and “mobile parts” with a 0.2 (or even 0, for connecting the moving parts) tolerance is more challenging, since it would require editing an STL rather than designing a simple square piece.
The particular load cell that I purchased from Amazon had different thread sizes and spacing, so I also had to design my own “loadcell bottom” part, but it is a super simple piece, and not a problem. Also, for my convenience, I used 3d printed spacers with heat set inserts instead of threaded metal spacers, and that works fine.
In the end, though, I spent roughly $60 US on the plans and parts, and got a sequential shifter and handbrake, both of which work as expected, even if they are a bit loose and sloppy.
Thank you for taking the time to make these designs, and I’d love to see a revision that reduces the parts tolerance!